“Under Construction” Documentation by “Stefanescu Marian” v1.0
“Under Construction”
Created: 29 of june 2012
By: Stefanescu Marian
Email: marianstefi20@gmail.com
Thank you for purchasing my theme. If you have any questions that are beyond the scope of this help file, please feel free to email via my user page contact form here. Thank you so much!
Table of Contents
A) HTML Structure - top
This theme is a fixed layout with one column. All of the information within the main content area is nested within a div with an id of "content".In order to modify the theme as you wish you should have a text editor, like notepad, but it's better if you have one with color formatting and indentation(just makes the code more manageable) - Notepad++ or SublimeText etc. The general structure is a very simple one.Below you can see it:
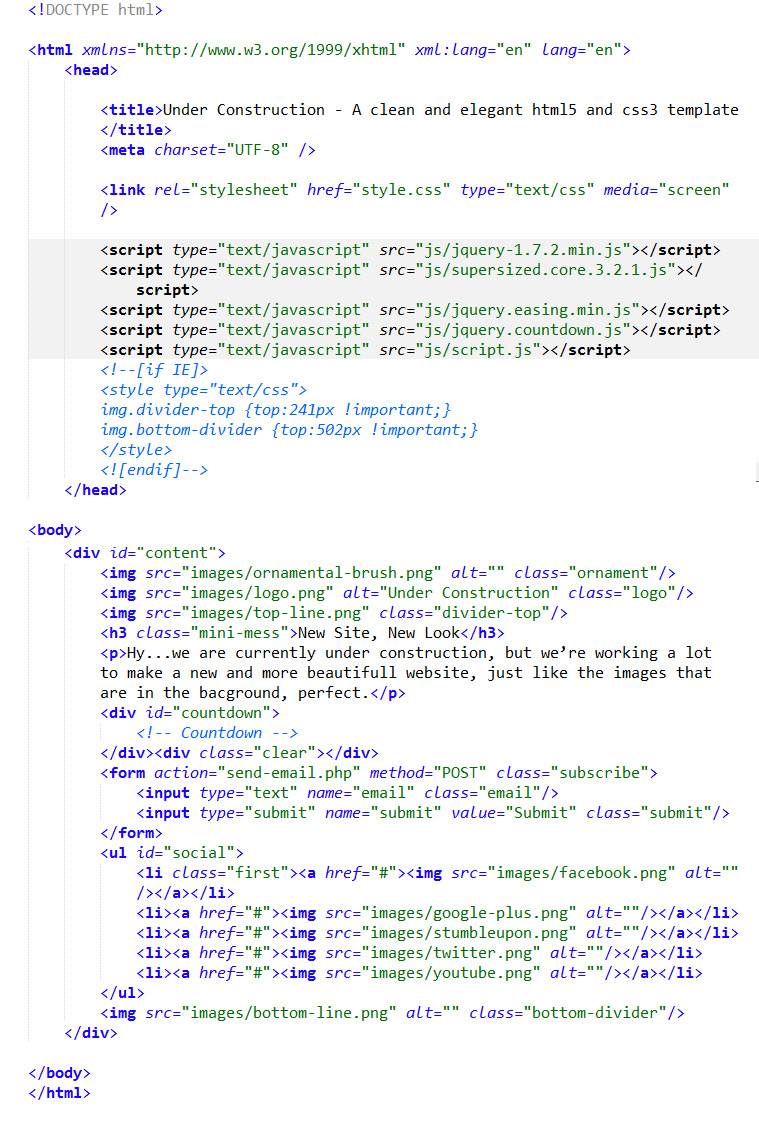
First, you should modify the title of the website and in order to do that, go in index.html and at the very top you will find the tag <title>.Just edit the content between the tags, but be careful..dont't delete the </title> tag too.
That's all what you need to modify in the head section.Now if we go into the body section you will see a <p> tag there.Edit the content as you like, but again, like in the case of the title tag, don't delete </p> too.It would be recommandable if you would stick with the same number of lines.If you don't, you should modify some things in the css file too(style.css).Below you can see how to do that.It's not difficult, but you must be careful not to modify something else.
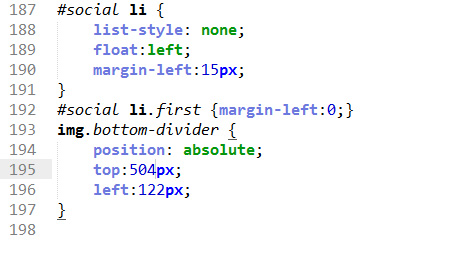
If you open the style.css for the first time you will this right at the very end
Let's suppose that you add another line of content at that paragraph.You must edit a single number in the style.css file.You can see 504px in the image above...you must change it to 520px and it's done.
Let's come back to the index.html and continue.Again, nested in content div you can see a list wich is initialized with the tag <ul>(unordered list).Inside it you can see an <a href="#" .... </a>.That # is actually a dead path of a link(which I purposely made), but you need to change it with the link to your facebook, or twitter account etc.The first # has the icon of facebook attached to it.So, after you edit that, you should have:
<li class="first"><a href="http://www.facebook.com/your-username"><img src="images/facebook.png" alt=""/></a></li>
Of course, the code above on two lines is the same like on one line.Just a quick note:When you the link add the http:// too.The example above was with facebook, but you can change all the # with the links to your social media accounts.If don't have an account for one or two icons from the page, just leave the #.And that's it with the HTML edit.
B) The javascript editing - top
In order for the theme to work seamlessly you must do some editig at the javascript part.It's quite easy, in fact more easy than at the HTML part.First I recommend you to edit just the script.js and even there with caution.
//Here is the initializer script for the full width image rotator
jQuery(function($){
	$.supersized({
		slides  :  	[
		{image : 'images/image1.jpg'},
        {image : 'images/image2.jpg'},
        {image : 'images/image3.jpg'}
		]
	});
});
In the chunk of code from above you can see what's between lines 2 and 11 from the script.js file.And you can see slides, and then images/image1.jpg,images/image2.jpg,images/image3.jpg.These are actually the paths to the three images that are used for the full screen image rotator.To change or add images, just replace them with your own, using the same name(that is for simplicity, but you can name them however you want).Let's say we have four images...the code will look like this:
jQuery(function($){
	$.supersized({
		slides  :  	[
		{image : 'images/image1.jpg'},
        {image : 'images/image2.jpg'},
        {image : 'images/image3.jpg'},
        {image : 'images/image4.jpg'}
		]
	});
});
Now, we have one more thing to edit.Go again in script.js to the line 48 and you will see this:
(-0, 2012, 10 -1, 17),
-0 and -1 are just some parts from the coutdown script, but don't bother with them.Just edit 2012, 10->month, 17-Days.
C) Some explanations regarding the PHP file - top
Here you don't have to edit something.But I think it's important to know how the email form works.After the user writes the email and presses submit, the Jquery validation starts.And, if everything is ok, the PHP script will add the email to a data.txt file, which of course you can edit.The data.txt file is in the same place where index.html is so you don't have to create it.Just as a note, anyone(who knows about the script - a friend, user) can open the data.txt via your website, but you can delete the content after a certain while, or you can limit the access to that file from .htaccess
Once again, thank you so much for purchasing this theme. As I said at the beginning, I'd be glad to help you if you have any questions relating to this theme. No guarantees, but I'll do my best to assist. If you have a more general question relating to the themes on ThemeForest, you might consider visiting the forums and asking your question in the "Item Discussion" section.
Stefanescu Marian